Painting the ceiling is not so difficult and specialized that you cannot handle it, nor is it so simple that you can work without considering its steps. The roller is the simplest tool used in painting. You may not be able to apply patterned colors with a roller, but you won’t have a hard time to apply simple colors. Join us to introduce you to the step-by-step guide for painting the ceiling with a roller.
If you are ready to paint the ceiling, you must also check the necessary equipment. If you don’t have these items at home, you can buy and use them through various stores. The best color for painting the ceiling can be obtained based on your personal opinion, but if we look professionally, the color of the ceiling should be one or more degrees lighter than the color of the wall to minimize the contrast. Among the tools needed for painting the ceiling, the following can be mentioned:
Painting the ceiling with a roller does not require expertise and experience, but if you pay attention to a series of simple tips, you can do it easily. Even if you use the most beautiful color of the building, but do not know how to apply it on the roof, the color structure will suffer and the beauty of your roof will be lost. So stay with us to explain step by step how to paint the ceiling with a roller. 
You must choose the right color for the roof. Based on the location of the roof, you should choose the right color. For example, for bathroom and kitchen ceilings that have high humidity, you should use oil paint or epoxy paint with a resistant coating; But for other environments such as living room, bedroom and reception hall, it is recommended to use normal colors. To avoid wasting paint, check the amount of paint you need. You can have an insulated roof by applying ordinary colors and colorless waterproofing on them.
Ideally, it is better to completely empty the entire room and space. But this is easier said than done. Removing the sofa, various items, etc. is a difficult task. However, it is better to take large items out of the room and cover other products with plastic. You can use old sheets on carpets and floors and epoxy flooring so that no stains of building paint remain on the floor.
If the ceiling needs repair, be sure to do it before painting the ceiling with a roller. This will make the surface of the ceiling completely smooth and uniform so that you can paint the ceiling well. If the surface has already been plastered, make sure that the surface is clean, free of stains and scratches. Do not ignore any flaking of the plaster and make the surface of the ceiling plaster smooth and uniform. Using a cover for the edges To prevent the edges of the ceiling from getting stained, you must use plastic or other special materials that cover the entire edges. In this case, even if the paint runs down, you won’t have to worry about the paint on the wall.
Prepare to paint the ceiling with a roller. First, pour the right color into the color tray and mix it with the paint thinner until it reaches the right concentration. Then paint a few centimeters of the edges of the ceiling with a brush so that you don’t have to use the roller on the edges as well.
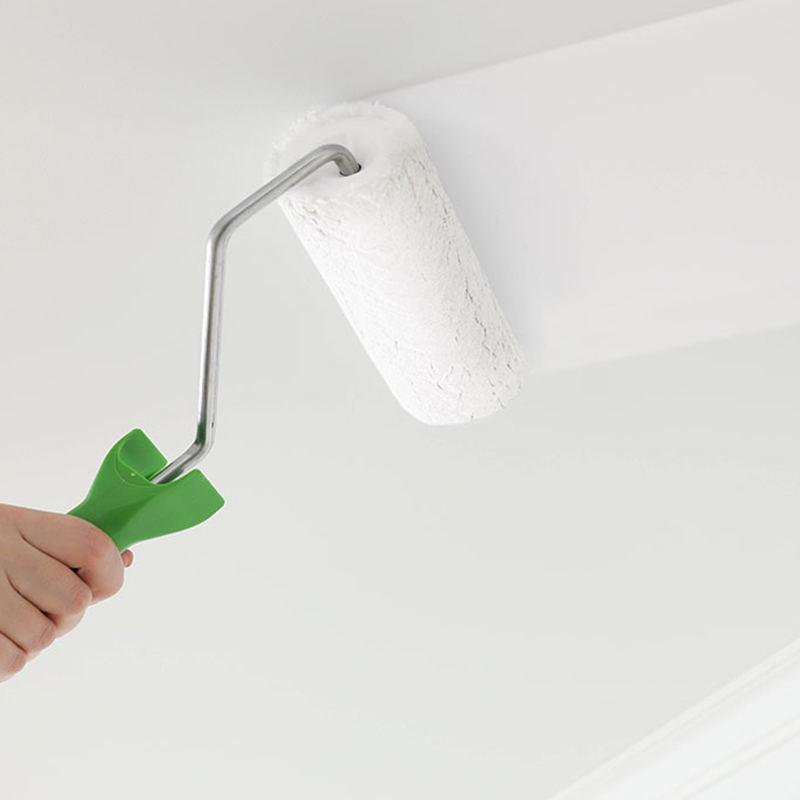
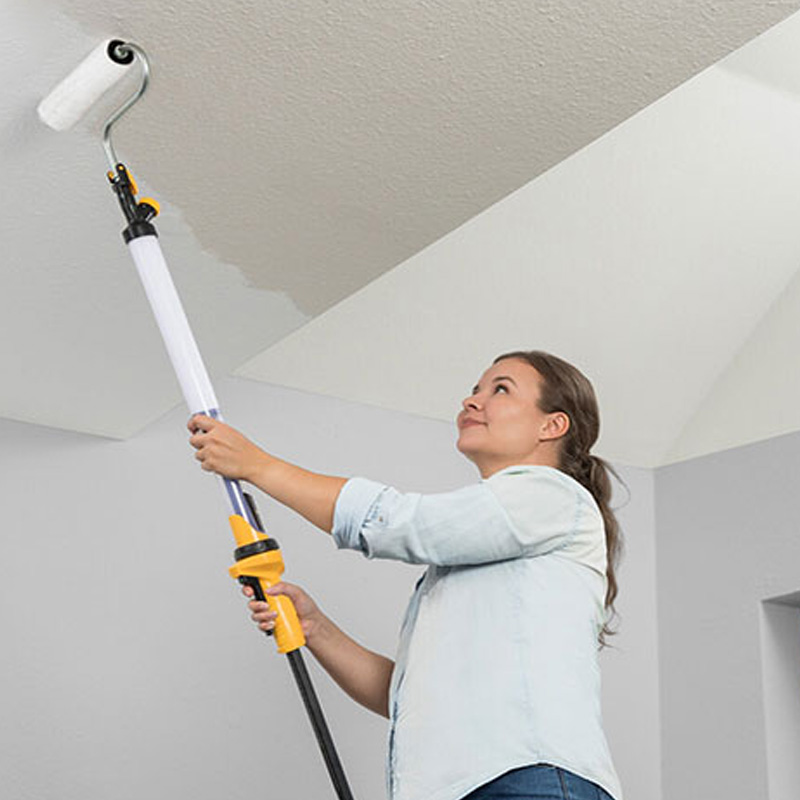
Considering the difference between oil paint roller and plastic paint, choose the right roller. Then start painting your ceiling. If your roof is flat, a roller with short hair is suitable; But if the ceiling is textured, it is better to use rollers with longer hair. To paint the ceiling with a roller, you should pay attention to the pressure of your hand. Pressing the roller too hard on the ceiling will cause lines on the ceiling. You may notice some patchy color when applying the color on the first layer. No need to worry, because this problem will disappear after painting the second layers.
You probably need two layers to paint the ceiling with a roller. This issue also applies to the application of epoxy flooring and all types of facade paints, and you must be patient until the first layer dries and then apply the second layer. Depending on the type of paint, its drying time is also different. After the first layer dries, use the roller again to paint the second layer. 
In general, it is much easier to paint the ceiling with a roller than to go up a ladder and try to paint the ceiling with a brush. However, this does not mean that you should abandon the brush. It is recommended that you use a brush for the edges of the ceiling and walls and use a roller to paint the rest of the ceiling. In this case, the surface of the ceiling will be painted uniformly.